
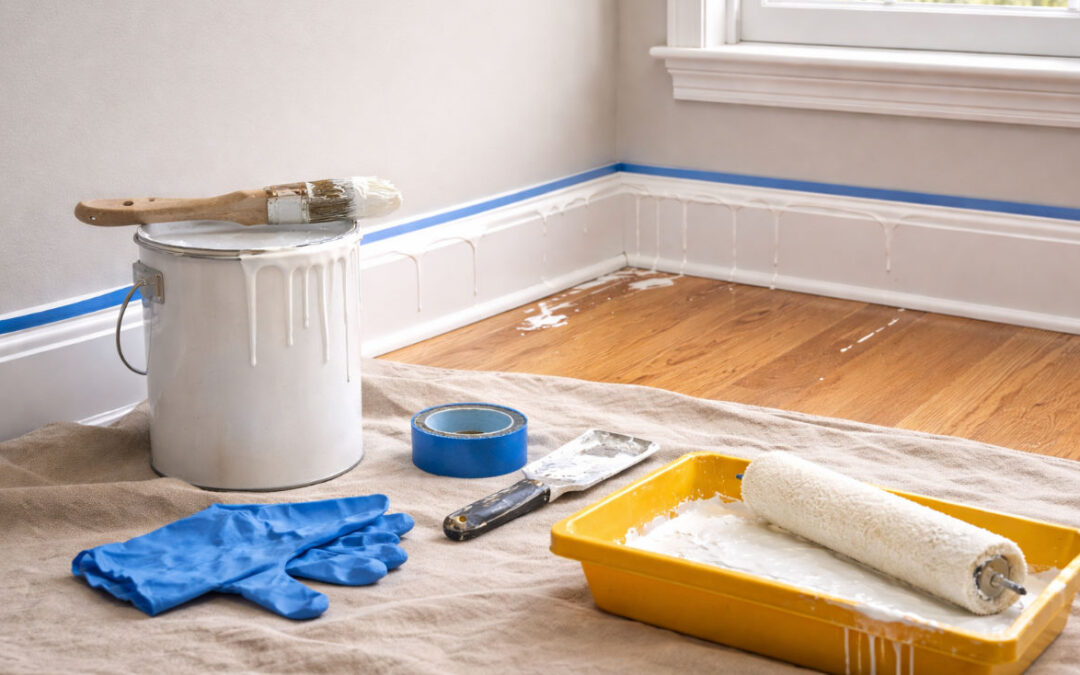
Paint splatters are one of the most common frustrations people notice after construction or remodeling wraps up. Even careful crews can leave behind small drips, overspray, or fine specks on windows, trim, floors, and fixtures.
This guide will walk you through how to remove paint splatters after construction based on the surface they’re on, along with what to avoid so you don’t turn a small cosmetic issue into a costly repair.
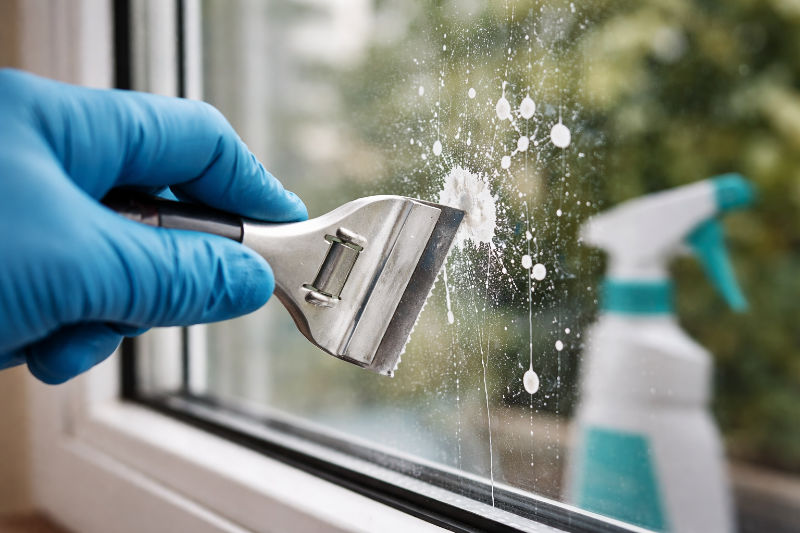
Removing Paint Splatters From Glass and Windows
Glass is usually the most forgiving surface when it comes to paint splatters, but it is still easy to cause damage if the wrong tools or techniques are used.
✔ Start with the least aggressive option.
If the paint is fresh or only lightly dried, warm water and a mild dish soap may be enough. Dampen a soft cloth, let it sit over the splatter for a minute or two, then gently wipe. Avoid scrubbing at this stage. Let the moisture do the work.
✔ Use a razor blade carefully for dried paint.
For fully dried paint on glass, a single-edge razor blade can be effective when used correctly.
- Hold the blade at a shallow angle against the glass
- Keep the surface wet to reduce friction
- Use smooth, controlled strokes in one direction
This method works well on standard window glass but should never be used dry or with excessive pressure.
▶ What to avoid on glass:
- Abrasive pads or steel wool, which can scratch glass permanently
- Dry scraping, which increases the chance of gouging
- Harsh chemical solvents unless the manufacturer specifically indicates they are safe for glass
Even small scratches can become visible in direct sunlight, especially on larger windows or glass doors.
▶ A note on tinted or specialty glass
If the glass is tinted, coated, or part of a newer energy-efficient window system, extra caution is needed. Scraping or chemical cleaners can damage these coatings. When in doubt, test any method in a small, inconspicuous area first.
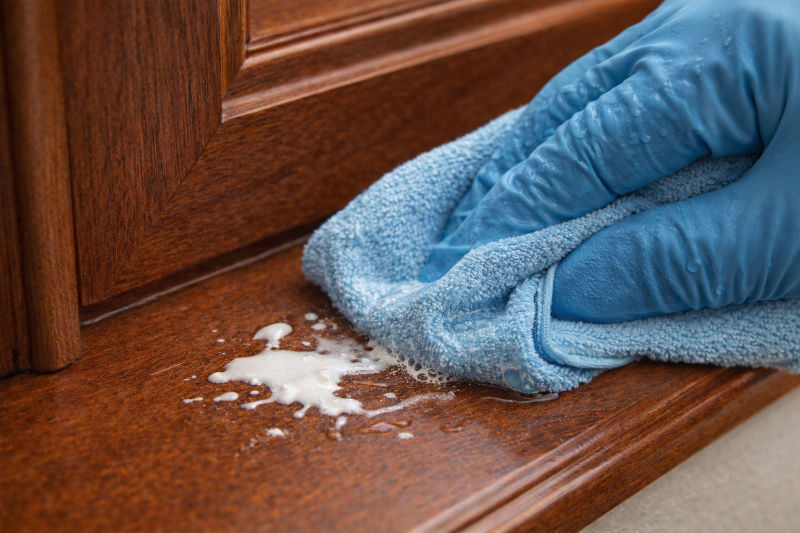
Removing Paint Splatters From Finished Wood and Trim
Finished wood and trim require a much gentler approach than glass. Paint splatters on baseboards, door casings, cabinets, or window trim are common after construction, but aggressive removal can quickly damage the finish underneath.
✔ Determine whether the paint is fresh or fully cured.
If the paint is still soft, a slightly damp cloth may be enough to lift it without disturbing the finish. Light pressure is key. If the paint does not release easily, stop and reassess rather than pushing harder. That can smear the paint.
For dried paint, the goal is to soften it before attempting removal.
✔ Use mild solutions before anything else.
A small amount of warm water with mild dish soap can help soften dried paint. Apply it with a soft cloth and allow it to sit briefly before gently wiping. In some cases, this is enough to loosen the splatter without affecting the finish.
If additional help is needed, a small amount of rubbing alcohol on a cloth can be tested in an inconspicuous area. Alcohol can break down paint, but it can also dull or remove wood finishes if overused.
✔ Gentle tools only!
Plastic scrapers or old credit cards can sometimes lift softened paint without scratching. These should be used carefully and only after the paint has been loosened. Metal tools should be avoided entirely on finished wood.
▶ What to avoid on wood and trim:
- Razor blades or metal scrapers
- Heavy-duty solvents or paint removers
- Excessive moisture that can swell or stain the wood
- Scrubbing with abrasive pads
Damage to painted or stained trim often requires repainting or refinishing, which turns a small cleanup task into a larger repair project.
▶ When it’s better to stop:
If paint is bonded tightly to the surface or the finish begins to dull, lighten, or smear, it’s best to stop. Continuing can remove the finish along with the paint, leaving uneven or visibly damaged trim.
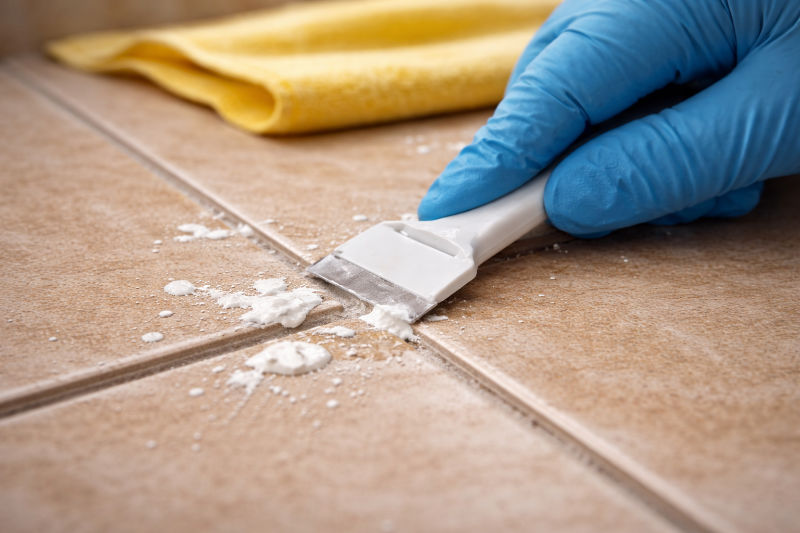
Removing Paint Splatters From Tile and Grout
Tile surfaces can usually tolerate more cleaning effort than wood, but grout and certain tile finishes are much easier to damage. Paint splatters often look simple to remove here, yet this is one of the most common areas where permanent staining or surface dulling occurs.
✔ Identify the type of tile first.
Glazed ceramic and porcelain tiles are typically the most forgiving. Unglazed tile, natural stone, or textured finishes require a much lighter touch. If you are unsure what type of tile you have, assume it is delicate and proceed cautiously.
✔ Start with gentle cleaning methods.
Warm water and mild dish soap applied with a soft cloth or sponge can often remove fresh or lightly dried paint from tile. Let the moisture sit on the splatter briefly to soften it before wiping. Avoid scrubbing at this stage.
▶ Removing dried paint from glazed tile:
For hardened paint on glazed tile surfaces, a plastic scraper can sometimes lift the paint once it has been softened with water. Keep the surface damp and work slowly.
If the paint resists removal, stop rather than forcing it.
▶ Special considerations for grout:
Grout is porous and absorbs paint easily. Scraping can pull grout material loose, and harsh cleaners can discolor it. Lightly dampening the area and gently blotting is safer than scrubbing.
In some cases, paint residue may remain embedded in grout even after careful cleaning.
▶ What to avoid on tile and grout:
- Acidic or harsh chemical cleaners
- Wire brushes or abrasive pads
- Excessive scraping along grout lines
- Power tools or rotary scrubbers
Damage to grout often stands out more after cleaning than the paint splatter did initially.
✔ Test before committing.
Always test any method in a small, hidden area. This is especially important in bathrooms, kitchens, and commercial spaces where specialty tile or sealed grout may be present.
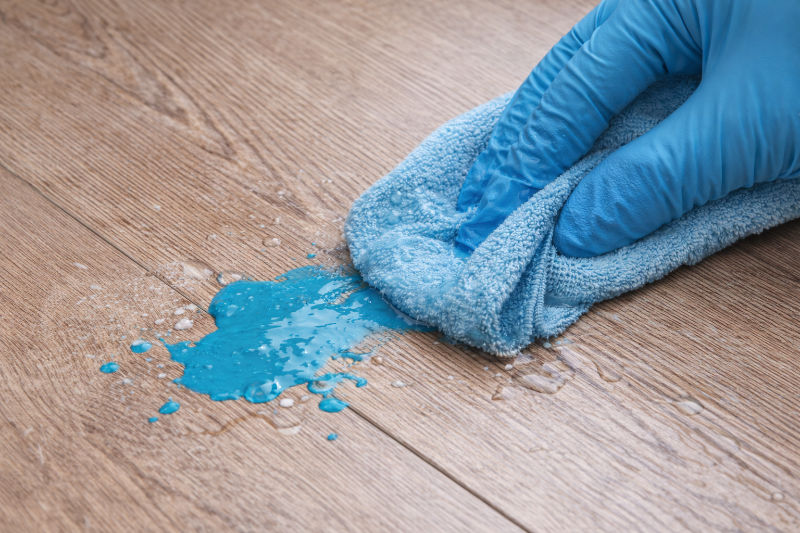
Removing Paint Splatters From Vinyl, Laminate, and Other Flooring
Vinyl, laminate, and similar flooring materials are especially vulnerable to damage during paint removal. While they are designed to handle daily wear, their protective surface layers can be scratched, dulled, or lifted surprisingly easily.
▶ Confirm the flooring type before starting
Vinyl plank, sheet vinyl, laminate, and engineered flooring all look similar at a glance but react very differently to moisture, scraping, and cleaners. If you are unsure what type of flooring you have, assume it has a thin protective coating and proceed cautiously.
▶ Address fresh paint as soon as possible
Fresh paint is much easier to remove from these surfaces. A damp cloth with warm water and mild dish soap is often sufficient if caught early. Use light pressure and wipe rather than scrub.
▶ Softening dried paint carefully
For dried paint, lightly dampen the area and allow the moisture to sit for a short time to soften the splatter. Once softened, gently wipe with a soft cloth. A plastic scraper can be used sparingly, but only with minimal pressure and at a shallow angle.
▶ Work slowly and in small areas
Rushing paint removal on flooring increases the chance of peeling the surface layer or leaving visible scuff marks. Focus on one small area at a time and stop if the finish begins to look cloudy, scratched, or uneven.
▶ What to avoid on vinyl and laminate flooring
- Razor blades or metal scrapers
- Abrasive sponges or scouring pads
- Solvents such as acetone or paint thinner
- Steam cleaners or excessive moisture
Once the top layer of vinyl or laminate is damaged, repairs are limited and often require plank replacement.
▶ Why testing matters even more on floors
Because floors catch light at low angles, even minor damage becomes noticeable quickly. Always test cleaning methods in a hidden area such as under furniture or along a baseboard before proceeding.
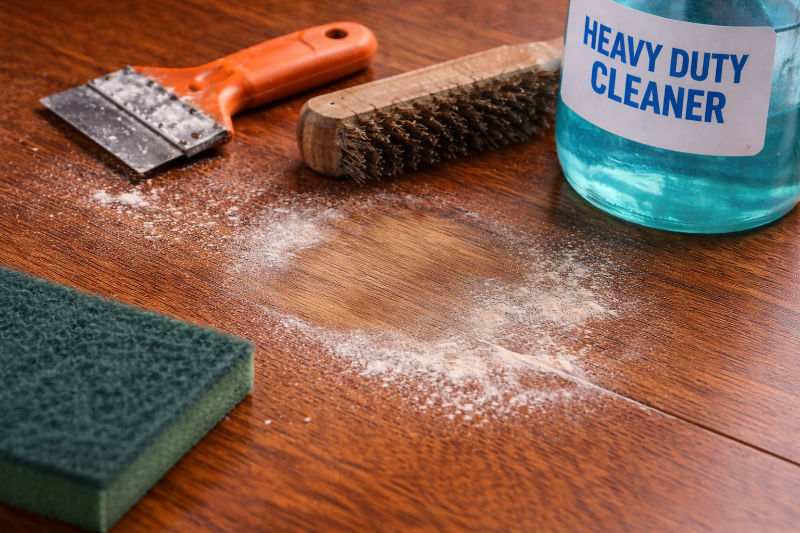
Common Paint Removal Mistakes That Cause Permanent Damage
Paint splatters left behind after construction are usually a cosmetic issue. The real damage often happens during cleanup, when the wrong approach turns a small problem into a permanent one.
❌ Using tools that are too aggressive
Razor blades, metal scrapers, and abrasive pads may seem effective, but they can easily scratch glass, strip wood finishes, or damage flooring surfaces. Once that protective layer is compromised, the surface is often impossible to restore without repair or replacement.
❌ Assuming stronger cleaners work better
Harsh chemicals, solvents, and paint removers can break down paint quickly, but they can also dissolve finishes, discolor grout, or cloud flooring. Stronger products are rarely safer, especially on finished or coated surfaces.
❌ Scrubbing instead of softening
Many people try to force paint off by scrubbing harder. In most cases, allowing moisture or a mild cleaner to soften the paint first is far more effective. Scrubbing increases the chance of scratching or dulling the surface underneath.
❌ Skipping spot testing
Even products labeled as “safe” can react differently depending on the surface, age, or finish. Skipping a test area is one of the fastest ways to cause visible damage in a highly noticeable spot.
❌ Trying to fix everything at once
Rushing through multiple splatters across different surfaces often leads to mistakes. Each material responds differently, and using the same method everywhere increases the risk of damage.
Taking a slow, surface-specific approach helps keep paint removal from becoming a larger repair issue. When in doubt, stopping early is often better than pushing forward and hoping for the best.