
Even after the major construction cleanup has happened, where the dust has cleared and there are no immediately obvious blemishes, it’s a worthy step to do one last walkthrough before having the client/tenant come through.
Some builders opt to have professional post construction cleanup crews handle this, but even if not, here are some specific things to keep an eye out for to prevent any embarrassing moments.
(Nailing these things can preserve valuable B2B relationships.)
☑ Window and Glass Clarity Check
Glass streaks can be tough to notice at first in lower lighting, or when the outside light is diffuse and even (such as overcast days). If you can, check the windows in brighter natural light. You can even use directional lighting cast against the glass from varying angles to check for streaks.
Often if a streak suddenly becomes obvious, it’ll be one key direction or angle that does it. (Where it’s most obvious.) This directionality is why you can’t rely only on the room’s overhead lighting, because it’s unlikely to hit the window at an angle where blemishes are clearest.
(And we don’t want your client to notice the blemish for the first time during a walkthrough when natural light is strong.)
Paint Specks and Overspray Hide in the Corners and Next To Trim. These can be minor and fairly small, so you’ll need to get up close to spot them. While these droplets/residue aren’t necessarily as obvious to tenants or clients at a glance, either, the difference of the windows having zero residue is an extra proof of care.
Same goes for adhesive residue, drywall dust, or paint fragments in the window tracks. Window frames and tracks can appear fine upon first inspection, and sometimes it’s not until you work the windows a bit that you’ll notice debris in there that can affect smoothness. Nothing works against that crisp newness factor more than a stuck or jerky window.
☑ Floor Edge Detailing
Like with windows, floor detailing blemishes aren’t always obvious under general lighting. Against directional light from windows or doors, that thin perimeter line becomes much more distinct.
Dust, sanding residue, and paint fragments naturally migrate outward. Air movement during construction pushes fine debris to the perimeter, where it settles along baseboards and shoe molding. Even after vacuuming or mopping, a faint white line can remain where the floor meets the wall.
Transitions between tile and hardwood (or to carpet) deserve special attention as well. Changes in material tend to trap debris and adhesive residue. Because these lines visually divide spaces, they draw the eye. A slight haze or buildup along a transition strip can read as unfinished, even if the rest of the floor looks great.
Corners amplify this effect. Inside angles near door frames, built-ins, and cabinetry collect more material than straight runs. These areas often look fine from standing height, but when viewed at a lower angle or in stronger light, small accumulations become noticeable. Dust or small fragments can build up like a wave in corner sections, following the seam upward.
☑ Cabinet Interiors and Built-In Surface Checks
Cabinet interiors and built-in shelving are often visually inspected with the doors open and then quickly closed again. For most walk throughs, as long as there isn’t obvious build up of dust or residue, folks move on.
But much like window tracks, drawer tracks and hinges can trap small particles. Depending in color choices, these can stand out on closer inspection and also affect smoothness of opening. These are high value checks because removing the residue is usually fairly quick, and it prevents dragging drawers or gritty feeling hinges.
Open shelving and built-in niches also tend to collect dust during finishing stages. Because these surfaces are horizontal and often above eye level, residue may not be easy to spot until natural light hits from the side.
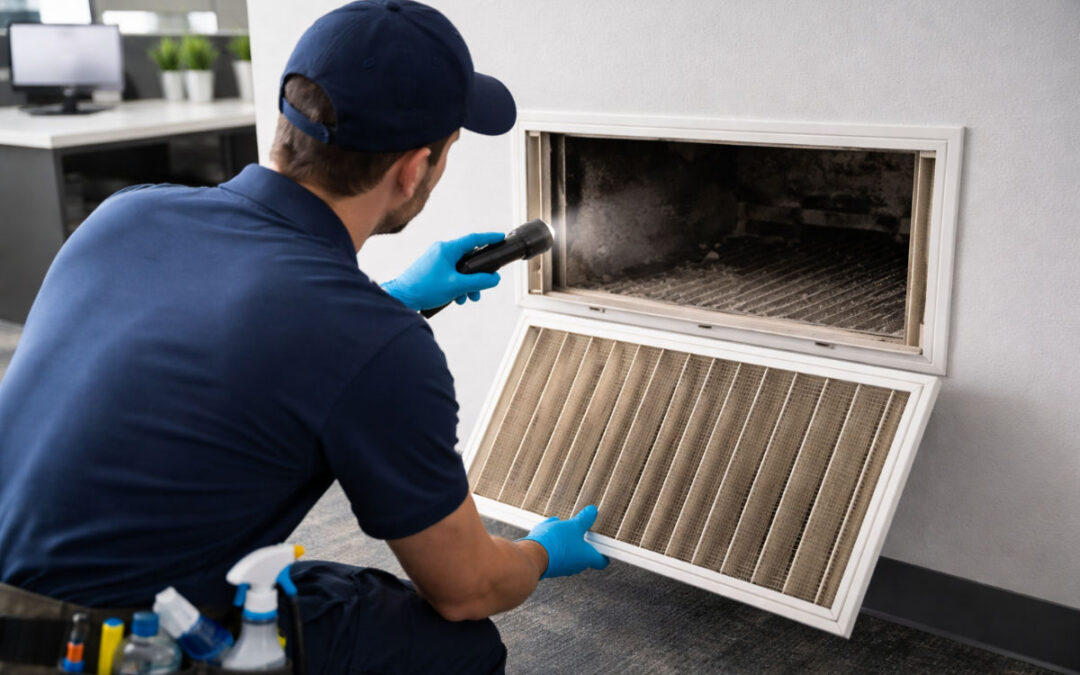
☑ HVAC Vent and Return Cover Inspection
There’s a natural inclination to focus on walls and major finishes during a walkthrough. Since the HVAC system is probably new, it’s a fair assumption that the ducts are clean.
But any dust and particles not removed after construction — by vacuum or other methods — end up being circulated by the air system. Early on, there likely isn’t enough dust for it to cake up in the ducts. However, dust can absolutely settle on vent covers and return grilles.
Sometimes that dust ends up in the slats of outward-blowing vents, taking the dust that had circulated through the ducts and dumping it where it gets stuck. Other times, the pull effect of the return vents accumulate room dust.
If the space has been remodeled and isn’t new construction, meaning it’s an existing HVAC system, you might notice the following:
- Previously, the circulating air carried small amounts of dust invisibly. Once the system was shut off, or allowed to run only intermittently during construction, those particles settled in the ducts. Especially on long horizontal runs.
- Once the system is started back up, the sudden increase in air velocity dislodges these particles, and they often build up on exit vents more quickly than normal.
- These often show up as a light film on the surfaces, and you’ll notice a faint smell in the room as the construction dust suddenly circulates.
Most callbacks do not happen because of major structural issues. They happen because of overlooked details. A streak in the glass. A faint dust line along the floor edge. Debris inside a vent that becomes visible once the system runs.
Building a consistent walkthrough checklist into the close-out process protects project timelines, reduces return visits, and ensures that the finished space reflects the quality of the build itself. This is particular feedback we’ve gotten from builders we’ve worked with as a marker of the value we could provide.