In high-traffic facilities, the right waxing routine can delay costly repairs, reduce safety risks, and improve the overall impression your building makes.
Here’s a step-by-step breakdown of how professional floor waxing works, what each phase involves, and why it matters for long-term surface health.
Step 1: Evaluate the Floor Surface and Condition
Before any wax is applied, the floor needs a full assessment. The type of material determines the best approach — VCT (vinyl composition tile), linoleum, and sealed concrete all respond differently to cleaning agents and finishes.
We also look for signs of buildup, scratches, staining, or worn areas. If there are multiple layers of old wax or if the finish has broken down, the floor may need to be stripped before new wax can properly bond.
This step ensures the rest of the process works as intended. Skipping it leads to poor adhesion, patchy finishes, or wax that breaks down too fast under foot traffic.
Up to 80% of coating failures — including wax adhesion issues — stem from improper surface preparation like residual oils, dirt, or layering of old finish. Missing the mark here can cause the coating to start peeling in a matter of weeks.
Step 2: Thorough Cleaning and Prep
Once the floor is evaluated, it’s time to prepare the surface. This step removes dirt, dust, and residues that can interfere with wax adhesion.
The process starts with a full sweep or dust-mop, followed by vacuuming along baseboards and edges where debris tends to collect. After that, the surface is wet-mopped using a neutral pH cleaner that won’t leave behind a film.
It’s critical that the floor dries completely before moving on. Even minor moisture can dilute wax, create hazing, or prevent it from bonding evenly to the surface.
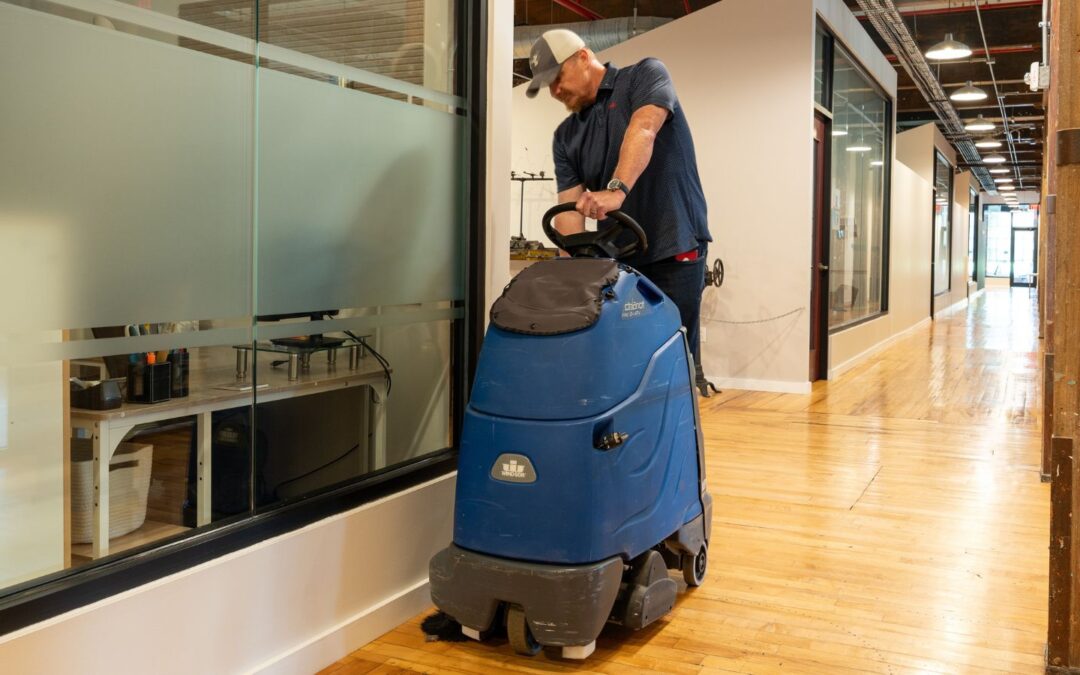
In high-traffic areas — like entryways, breakrooms, or hallways — this prep stage may also include scrubbing with a low-speed machine and a light abrasive pad to lift embedded soils.
Clean prep equals clean results. Cutting corners here almost always shows up in the final shine.
According to Sherwin‑Williams, “lack of preparation” remains the root cause in most commercial coating failures. Corners cut here often leads to total re-coats and additional expense that outweigh the original service cost.
Step 3: Strip Old Wax or Finish (If Needed)
Proper stripping ensures new wax adheres correctly and delivers lasting protection.
What Happens During Stripping
- A professional-grade floor stripper is applied to dissolve old wax layers, embedded dirt, and residue.
- A low-speed machine with a stripping pad is used to agitate and lift the old finish until the surface returns to bare tile or wood.
- The floor is then thoroughly rinsed and neutralized to remove any chemical residues.
Why Stripping Matters: Data‑Backed Reasons
- Stripping removes worn, contaminated coatings that can cause adhesion issues or uneven surface bonding. If skipped, new wax may peel, flake, or break down much sooner. (Source)
- Industry-wide, improper surface or finish removal remains one of the leading causes of premature coating failure—even where high‑quality wax is applied. (source)
How to Know If Stripping Is Needed
- Several visible or tactile layers of wax build-up
- Uneven gloss or finish wearing off in high-traffic areas
- Floors that don’t shine even after routine buffing
For most well-maintained commercial floors, stripping is scheduled about once or twice a year. High-traffic spaces may need it even more frequently.
Step 4: Apply New Wax or Finish
Once the floor is stripped and fully dry, the new finish can be applied. This part of the process is where protection and appearance really start to come together.
Using a mop applicator, wax is laid down in thin, even coats — typically three to five, depending on traffic levels and floor type. Each layer needs time to dry completely before the next one goes on, ensuring proper adhesion and a smooth, even surface.
The type of wax matters just as much as the technique. High-solids finishes offer better durability, especially in high-traffic commercial environments like retail or healthcare. And in facilities that see a lot of rolling traffic (carts, wheelchairs, or dollies) a harder finish can help resist compression marks and dulling over time.
This step isn’t about shine alone. The new wax creates a sealed barrier that protects the floor from moisture, dirt, and abrasion. It also makes ongoing cleaning easier and safer, as the finished surface resists grime and provides better traction underfoot.
According to Mill City Cleaning, businesses that keep up with regular waxing cycles — including fresh finish applications every few months — see up to 30% longer lifespan on their commercial floors compared to facilities that delay or skip this step.
Step 5: Buffing or Burnishing for Shine
Once the wax or finish is fully cured, buffing elevates the floor from merely protected to professionally polished. This step smooths minor scuffs and evens out the surface, resulting in a deeper, more reflective gloss that feels responsive underfoot.
We use high-speed burnishing machines with appropriate pads to lightly abrade the surface—without stripping it—enhancing shine and sealing in the finish. By mechanically smoothing the micro-rough areas, buffing rebonds the glossy layer and helps prevent premature wear in high-traffic zones.
This isn’t just for aesthetics. Buffing strengthens the protective layer and makes daily cleaning more efficient. Floors resist scuffs, maintain gloss longer, and require less frequent full re-coats.
Facilities that run regular buffing cycles after waxing experience significantly fewer surface scratches and abrasions, which helps prevent premature finish breakdown and lengthens maintenance intervals
—
Whether you’re managing an office, a school, a medical facility, or a historic building like Revolution Mill, maintaining your floors with the right process pays off over time: fewer repairs, lower cleaning costs, and a space that looks polished year-round.
If your floors are due for attention or you’re building out a long-term maintenance plan, we’re happy to help you find the right approach.